A Look Into the Workshop
= Mandonator™ Serial #17 ===
This resonator mandolin was commissioned by Kay K.
The options she chose are:
- 4 strings
- Quilted maple body with rosewood binding
- Cutaway
- F-shape soundhole
- Quilted maple neck
- African ebony headstock veneer and fingerboard
- Snakehead headstock shape
- Abalone inlays
- James tailpiece
Standard features include:
- Spherically arched back
- Nickel plated hardware
- Radiused fingerboard
- Spider bridge and resonator cone
- Gloss nitrocellulose finish
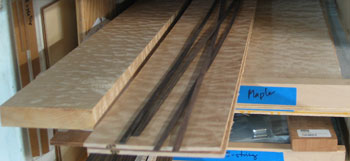
Here you see the wood for the body, sides, and neck for Mandonator™ 17 gathered together in its dedicated shelf drawer.
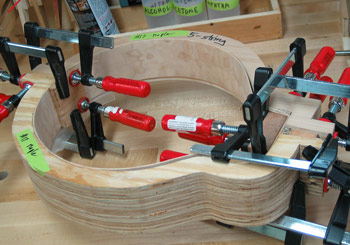
The sides are being joined with end blocks. The sides are held in a form and the end blocks are clamped in place at each end while the glue dries.
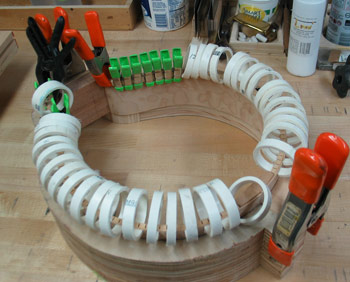
Lining is being glued to the rim of the sides, and is clamped with small green clamps and O-rings made from PVC. You can just see the top of some of the lining through the O-rings. The sides remain in a form to help maintain their shape at this stage.
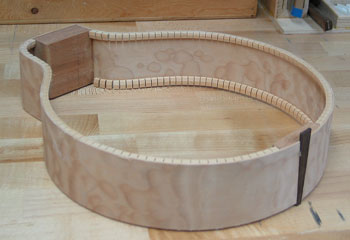
After the linings and end blocks were installed in the rim, I inlayed a contrasting decorative wood wedge in the tail. In this picture, the wedge still needs to be trimmed flush to the rim.
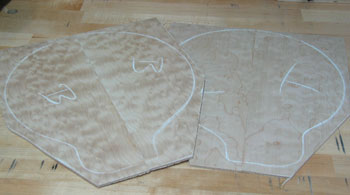
Once the wood halves for the top and back of the instrument are joined, I use chalk to draw the outline of where they will join the instrument rim, carefully orienting it around the centerline of the pieces.
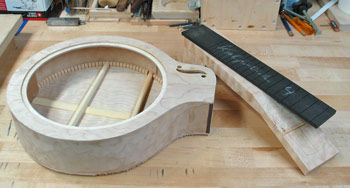
I joined the top to the rim, then cut the openings for the resonator cone and sound hole. Then I attached the back and trimmed the top and back flush to the rim. Here the body still needs to have binding installed.
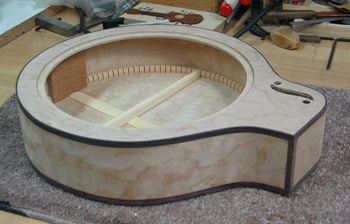
The body looks very handsome with the rosewood binding.
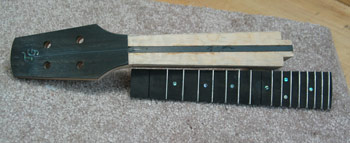
Neck and fingerboard, ready to be glued together. You can see the graphite truss rod in the center of the neck. I'll finish shaping and cleaning them after they're joined.

This is how the fingerboard is glued to the neck; it's clamped to the neck until the glue dries.
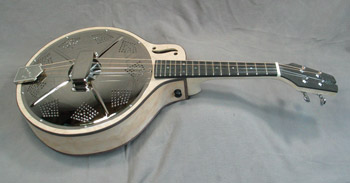
Here's Mandonator™ 17 "in the white." Before the final detailing of an instrument and declaring it ready to apply finish, I fully assemble it and "road test" it. It passed with flying colors! Next I'll complete a few details, then take it to Addam Stark for a gloss lacquer finish.
Mandonator™ 17 has been completed! You can see photos of the finished instrument on its Gallery page.